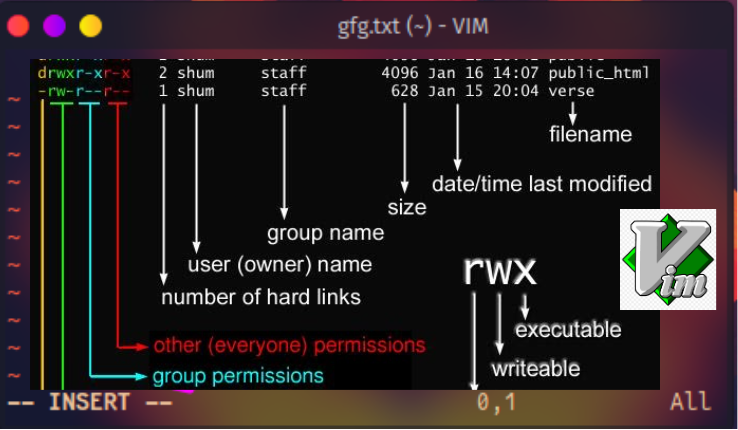
We will be learning how to use VIM to edit files within the terminal. It can possibly be used as an IDE if installing the proper modules for Python for example. It’s a useful tool with advanced capabilities compared to another tool I know how to use like NANO.
We will be changing said file permissions with the CHMOD command via the command line. The idea is to give certain individuals access to do their jobs to reduce risk exposure of sensitive data within an organization.
sudo apt-get install vim
We shall start by installing vim using our preferred package manager. Once, that’s done installing we touch eddy.txtshall create a blank file.
cd Desktop
We will leave it in the Desktop directory it is fine.
touch eddy.txt
We are also able to elaborate another specific file path as well.
vim eddy.txt
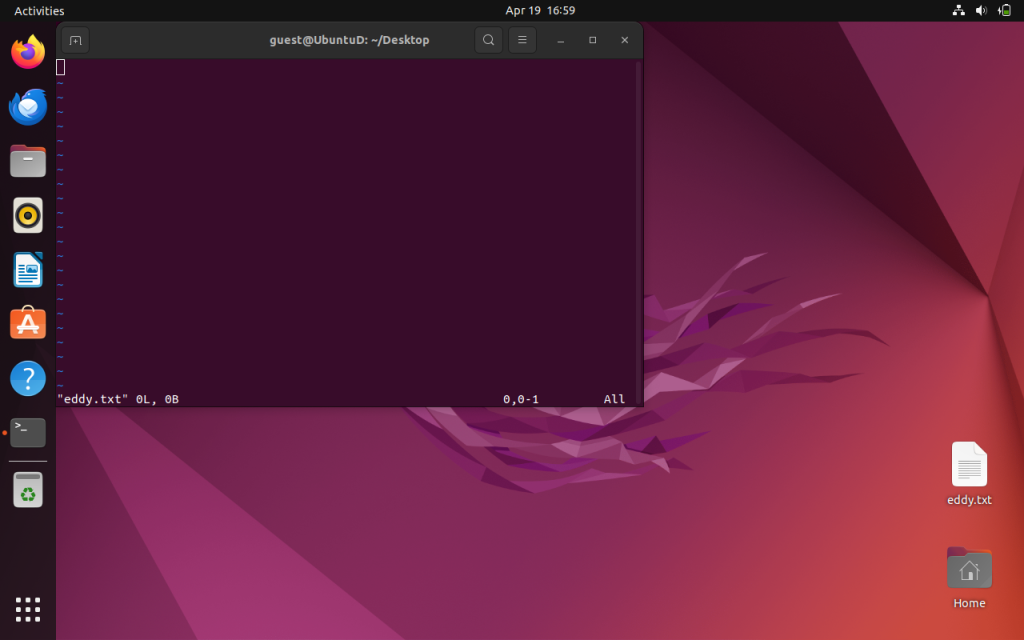
It should empty and will be ready to be edited by our preferred text editor. As we mentioned earlier VIM is special because of it’s advanced capabilities. We can run specific commands that makes it easier to navigate within our file. To run a command use shift and at the bottom it will prompt you type in the command
:help
We can use the help command to help us just in case we get lost. It’s full of documentation.
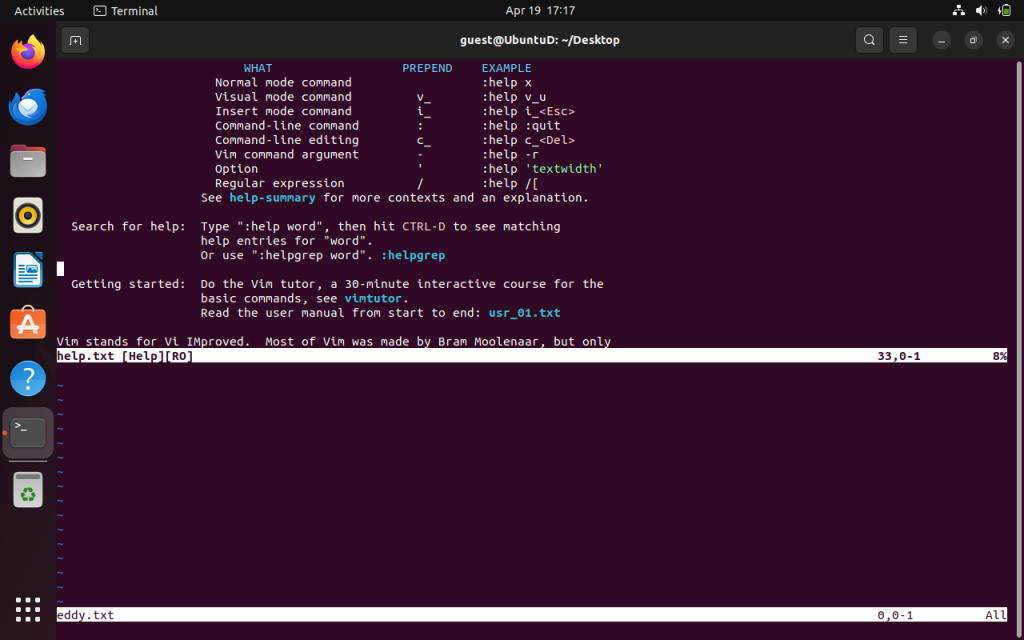
Let’s back out now using the following command
:exit
Once we are back in let’s type i for –insert — for insertion mode.
We shall type in something random. We can then type the ESC button to exit insertion mode.
:wq
“write and quit” basically means save and quit. It shall take us back to the command line. Now that we are there let’s run a useful command called ‘echo’ . This is the print() statement for Linux commands(aka Bash).
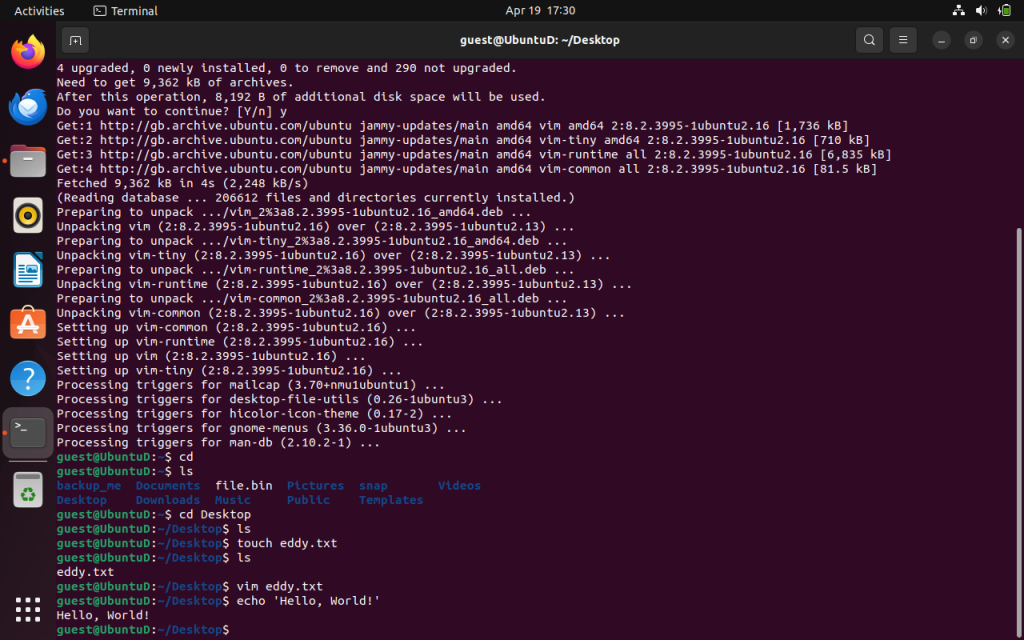
It’s useful because we can use it to ad text to a file without having to open a text editor! One more useful command is the cat command which stands for concatenate. When you concatenate a file it will print the file on the screen like the echo command. We are going to spice things up by adding an operator to the ‘echo’ command.
echo ‘You shall not pass!!!’ >> eddy.txt
When we echo a statement followed by “>” operator and the filename it will overwrite the file with whatever we echoed( or create a file if it doesn’t exist) By adding a second “>>” operator takes our ‘echo’ input and appends(adds) it to the line of the specific file implied.
cat eddy.txt
We can then concatenate the file to see the data via the command line. We can also concatenate data from a file and redirect it to a different specific file as we please.
cat eddy.txt > eddie.txt
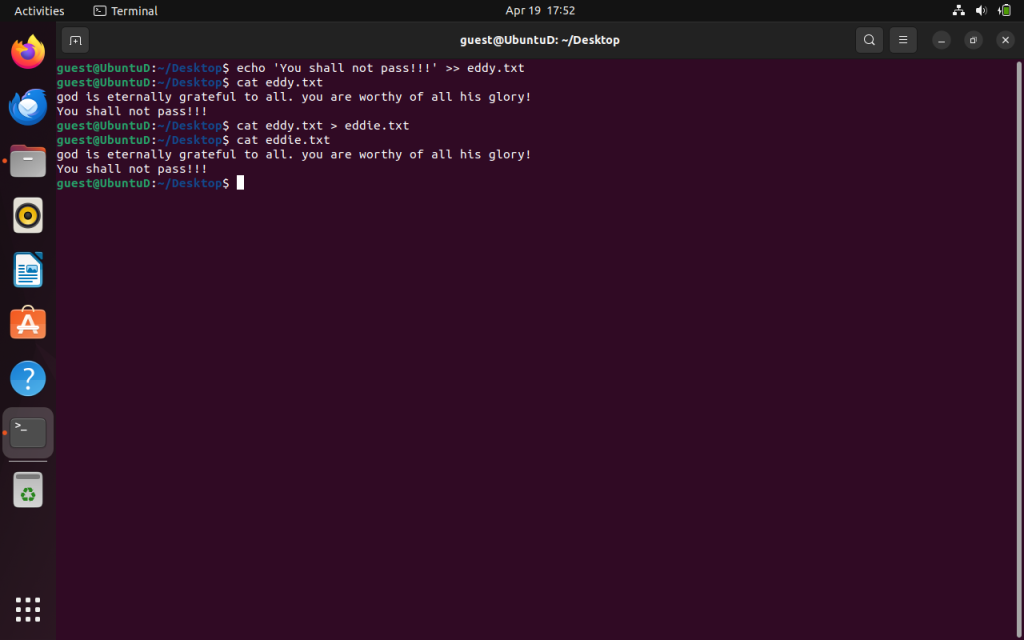
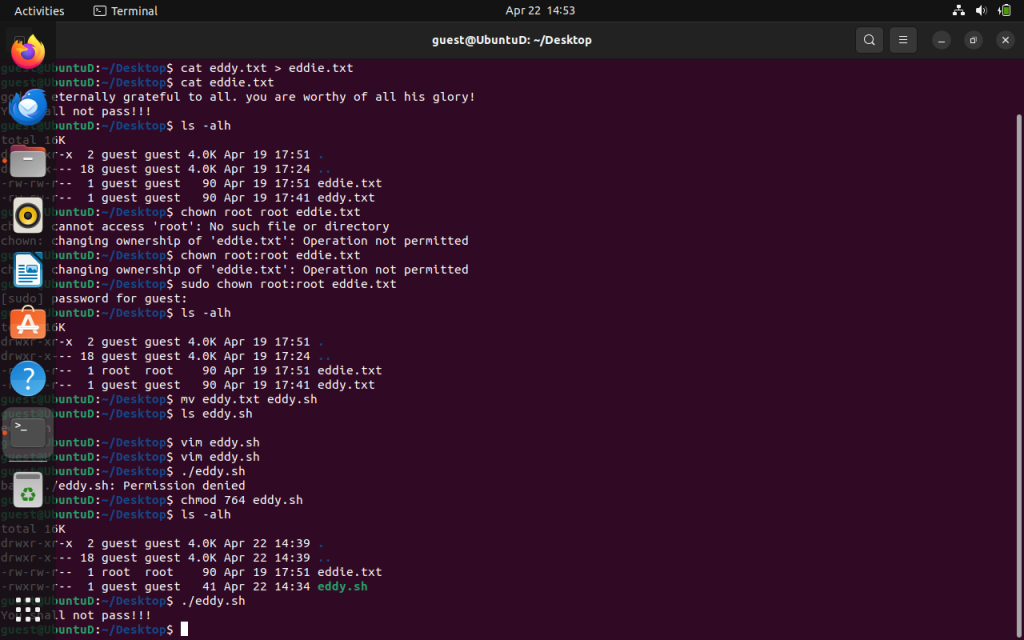
It should look like this visually. A useful command to have to easily navigate within our enterprises file system. We can go ahead and remove the file via the:
rm eddie.txt
We shall now going into file permissions now. The beauty about file permissions is that we can set certain users with certain permissions to perform certain actions within a enterprise environment. Enough access to basically to do their jobs. We want certain indivuduals to be able to have access root access usually they are the system admins. We are going to begin by looking at our Ubuntu systems file permissions via:
ls -alh
The “a” stands for listing all files including hidden files. The The “l” switch gives us the long form breakdown, allowing us to see file permissions visually, and the “h” stands for making it human readable down to the size and bytes of the file.

Seeing this for the first time can be overwhelming. Let’s break it down line by line to understand visually.
Line 1) total 89m
Stating all content shown listed above is a combined 89 megabytes.
Line 2) drwxr-x— 26 sirgallientprism sirgallientprism 4.0k Mar 18 16:11
“drwxr-x— these are the file permissions. The d stands for directory. Everything after that is actually a sequence of bits that determine what actions the user can perform. he
The second column “2” represents the number of links are to that file.
The third column “sirgallientprism sirgallientprism”. This is the user and group that belongs to that file. It’s possible to make groups and add users to allow them access to certain actions to certain files based on file permissions.
The fourth column “4.0K” is the file size of the file with all directories having the default size of 4086 bytes in Linux, which is the directory is this size.
The fifth column “Mar 18 16:11” The last time the file(or directory in this case) was modified.
The sixth column is the file name in Linux. “.” represents the current directory, and “..” represents the previous directory. In our case we don’t have a file directory shown. It’s basically showing what permissions we have for this specific user and down below root “sudo” has full privileges.
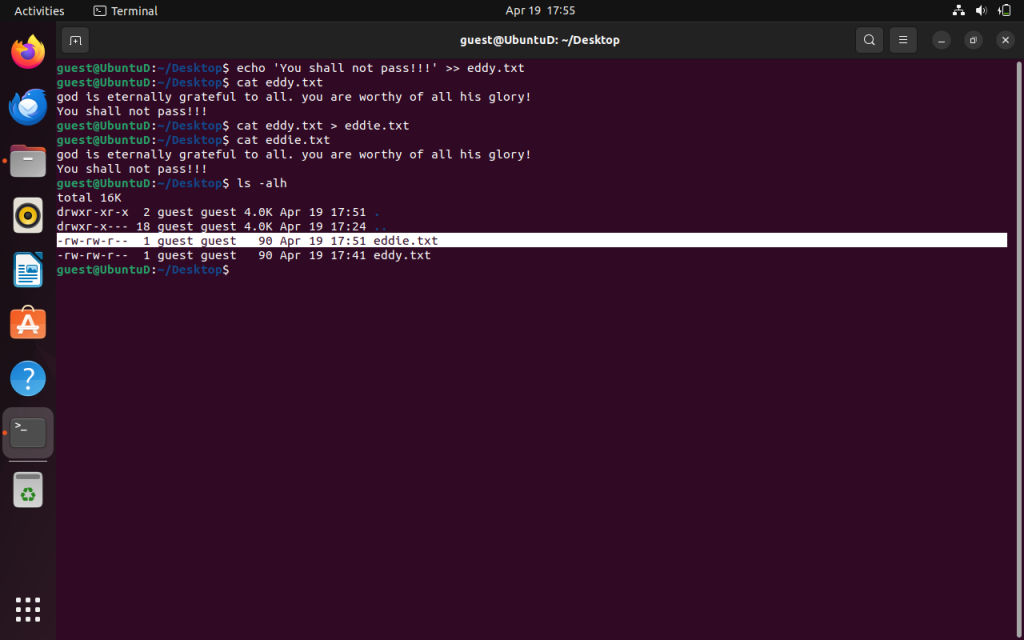
We are going to look at this line because it contains a file and we will begin understanding and changing file permissions.
Column 1 “-rw-rw-r– guest guest 90 April 19 17:51 eddie.txt”
We should know how to break down some parts of this know we shall learn how to read file permissions in a bit but we know the user is guest and is on the guest group as well. It contains 90 bytes within the file. It was last modified on April 19 at 17:51 24 hour format time and the file is named “eddie.txt.”
Let’s break down the “-rw-rw-r–” which are the file permissions.
In Linux, each file can have 3 of the following permissions: Read,Write, and Execute. How these file permissions are set is done in Binary.
Let’s separate our permissions into three columns.
-(rw) -(rw) -(r–)
1 2 3
In column 1 the file permissions here apply to the OWNER of the file.
In column 2 the permissions here apply to the GROUP OWNER of the file.
In column 3 the permissions here apply to everyone else.
r stands for read, w stands for write, and x stands for execute. If, everyone could read,write and execute the file; it would look like this:
-rwxrwxrwx
For eddie.txt file the owner and group owner can read, write the file. While everyone else can read the file. The gold standard should be the OWNER can READ WRITE the file. While everyone else can READ read the file.
We can now change our file permissions using the “chmod” command which stands for change mode. We can also change owner by using “chown” and change the group by using “chgrp”. We can also do both,
chown user:group file.txt
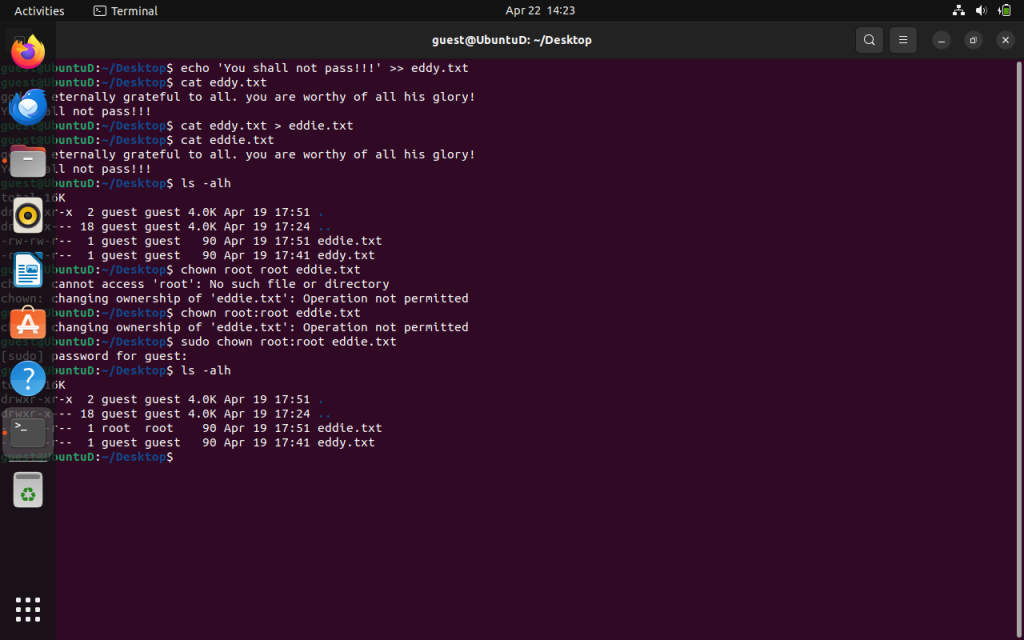
Noticed how I changed the user and group from guest to guest to root and root.
We are going to begin calculating file permissions. For simplicity sake, we are going to make a simple bash script to explain the implications of file permissions. First, we’re going to rename eddy.txt to eddy.sh. We do so by “moving” the file inside the directory from one name to another. Run,
mv eddy.txt eddy.sh
If use the ls command we should see the file name has indeed changed.
Now, let’s edit the file in VIM.
vim eddy.sh
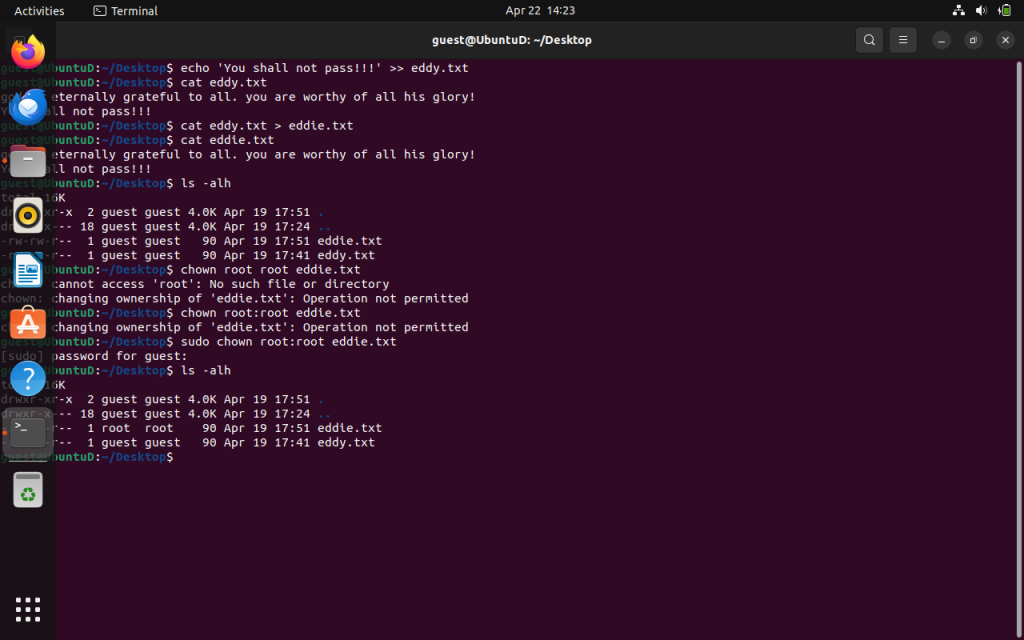
Type in the following text shown above. Press i to insert, and hit ESC when done. Type :wq or ZZ to write and quit.
#!/bin/bash is the interpreter, which tells Linux that this file is a bash script when it’s executed. Remember the echo command will print the statement onto the command line “You shall not pass!!!” to the terminal.
./eddy.sh
If we, try to execute the script it won’t run. We need to give it execute permisssions. Our current permissions are 664.
How we got this is basically how I see it:
Read = 4 Write = 2 Execute = 1
Which we explained above no group is able to execute. The way I see it we need to add a +1 to the Owner of the file. Which will equal 764. We shall be able to read,write, and now execute! There are a total of 8 file permissions for each category. (Owner, group, and everybody)
0 = —
1= –x
2=-w-
3=-wx
4=r–
5= r-x
6= rw-
7=rwx
If we now run the command:
chmod 764 eddy.sh
We now have the rwx permissions for the root (owner) and now have permission to execute the file.
Out of curiosity, what about the others? We said if our permissions are 764 , the root could read,write, and execute but others shouldn’t right?!
Let’s use the “su” command to log in as another user in our terminal.
su <username>
In theory it shouldn’t work. It will block your access and prompt permission denied.
It’s lazy practice among Linux system administrators to set all permissions to 777 despite being a lucky number it can provide doom to your enterprises sensitive information. It is not best security practice to get into such bad habits. Security is a system of least privileges. Best security practice is to only give users within your organization enough access to do their jobs nothing more and nothing less. Remember, to stay legendary!


